Stylish and built for fun
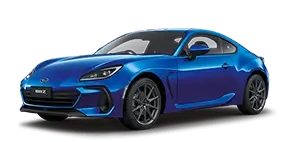
A compact sports coupe with dynamic handling
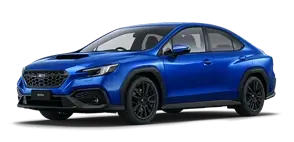
Turbocharged power and a sleek new style
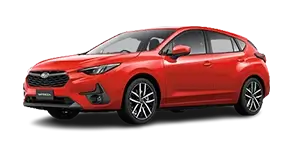
Move to the beat of your own drum
An absolute beloved classic
The SUV with outstanding off-road capability
The future of Subaru has been revealed
Give the Murray Bridge Subaru Sales Team a call at Murray Bridge - 08 8531 0044 or Enquire Online.